
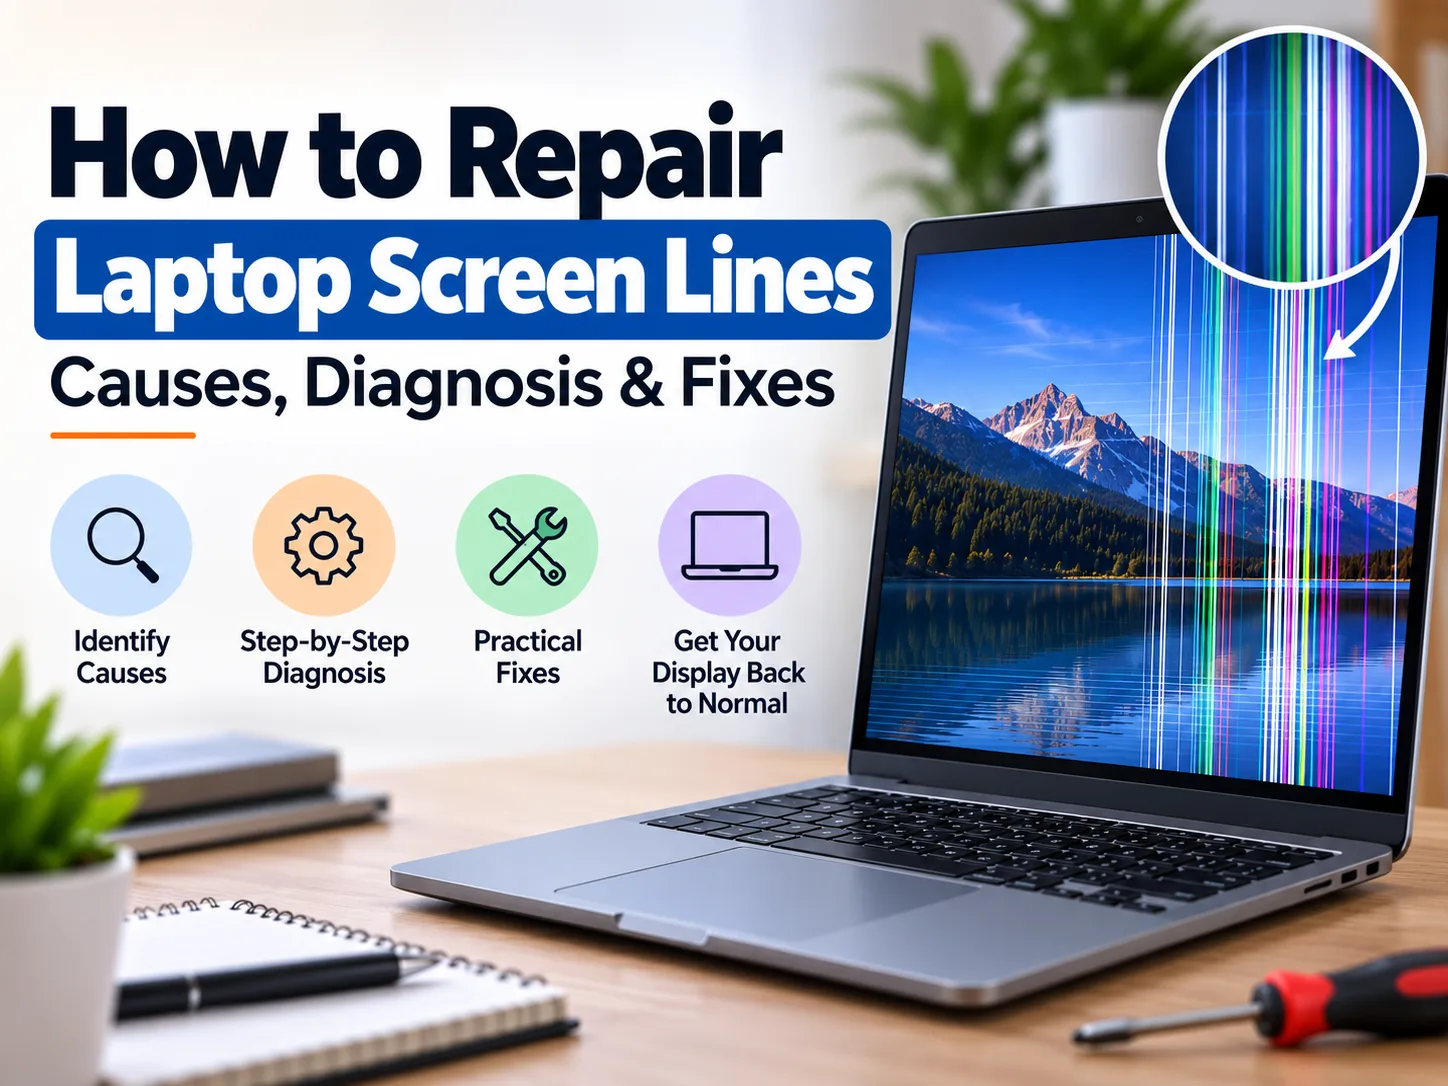
How to Repair Laptop Screen Lines: Causes, Diagnosis & Fixes
Seeing vertical, horizontal, coloured, or flickering lines on your laptop screen can be worrying. Sometimes the problem is caused by a simple software or display-driver issue. In other cases, the screen cable, graphics hardware, or LCD/LED panel may need repair or replacement.
The good news is that you should not replace the laptop screen immediately. A few simple tests can help you identify where the problem is coming from.
This guide explains how to repair laptop screen lines, how to find the actual cause, which fixes you can safely try at home, and when professional laptop repair is the better option.
Quick Answer: How to Repair Laptop Screen Lines
To repair laptop screen lines, first determine whether the problem is caused by software or hardware.
Try these steps in order:
- Restart the laptop.
- Reset the graphics driver.
- Check whether the lines appear during start-up.
- Connect the laptop to an external monitor.
- Update or roll back the display driver.
- Check the screen resolution and refresh rate.
- Check for a loose or damaged display cable.
- Inspect the screen for physical damage.
- Replace the display cable if it is faulty.
- Replace the laptop screen if the panel is damaged.
If the lines remain visible during startup or appear on the laptop screen but not on an external monitor, the problem may be related to the internal display system rather than Windows.
What Causes Lines on a Laptop Screen?
Laptop screen lines can have several causes. The same symptom does not always mean the same component has failed.
Common causes include:
- Loose internal display cable
- Damaged LCD/eDP display cable
- Cracked or damaged screen panel
- Faulty display panel
- Graphics driver problems
- Incorrect resolution
- Incorrect refresh rate
- Graphics processing hardware problems
- Motherboard or display connector faults
- Physical pressure or impact
- Liquid damage
- Hinge-related cable damage
- Overheating-related hardware problems
HP explains that lines and distorted colours can be associated with the screen or other computer hardware, while diagonal or jagged lines can indicate physical panel damage.
This is why proper diagnosis is important before purchasing a replacement screen.
Types of Laptop Screen Lines
Not every screen line looks the same. The pattern can provide a useful clue.
1. Vertical Lines
Vertical lines run from the top of the display toward the bottom.
They may be:
- One thin line
- Several lines
- A group of coloured lines
- Full-height black lines
- Flickering vertical lines
Possible causes include a damaged panel, display cable problem, connector issue, or graphics hardware problem.
2. Horizontal Lines
Horizontal lines run from one side of the screen to the other.
They can occur because of:
- Display-panel damage
- Cable problems
- Graphics hardware issues
- Driver problems
- Physical impact
3. Green, Pink, Red or Blue Lines
A permanent coloured line can be a sign of a hardware problem.
If a solid coloured line remains in exactly the same position across different screens, including the startup screen, software troubleshooting may not remove it.
HP notes that permanent solid red, green, or blue lines can indicate display hardware failure.
4. Flickering Lines
If the lines appear and disappear, the cause may be different from a permanent line.
Possible causes include:
- Display-driver problems
- Loose cable
- Damaged cable
- Incorrect refresh rate
- Screen hardware failure
- Graphics hardware problems
Microsoft recommends checking whether the entire display and Task Manager flicker to help distinguish a driver problem from an incompatible application.
How to Tell If Laptop Screen Lines Are a Hardware or Software Problem
This is one of the most important tests.
Check the Screen During Startup
Shut down the laptop completely.
Turn it on and watch the display before Windows or your operating system finishes loading.
If the lines appear immediately
If you see the lines on the manufacturer’s logo, boot screen, or BIOS/UEFI screen, the problem is more likely to involve hardware such as:
- Display panel
- Display cable
- Display connector
- Graphics hardware
- Motherboard
If the screen is normal during startup but lines appear after Windows loads
The cause may be related to:
- Graphics driver
- Display settings
- Refresh rate
- Resolution
- Software conflict
This distinction is useful because it prevents you from replacing hardware unnecessarily.
Step 1: Restart the Laptop
A restart should be your first troubleshooting step.
Save your work and restart the laptop normally.
Temporary graphics glitches can sometimes disappear after restarting.
If the lines remain, continue with the next test.
Step 2: Reset the Graphics Driver
Windows includes a shortcut that can reset the graphics driver.
Press:
Windows + Ctrl + Shift + B
The screen may briefly flicker or go dark for a moment. Microsoft recommends this keyboard shortcut as one of the troubleshooting steps for display problems.
After the display returns, check whether the lines are still visible.
If the lines disappear
A temporary graphics-driver problem may have caused the issue.
If the lines remain
Continue with hardware and display-setting tests.
Step 3: Check Your Display Driver
An outdated, corrupted, or recently changed display driver can cause display problems.
On Windows:
- Open Device Manager.
- Expand Display adapters.
- Right-click your graphics adapter.
- Select Properties.
- Open the Driver tab.
- Check whether updating or rolling back the driver is appropriate.
Microsoft recommends updating, rolling back, or reinstalling the display driver depending on when the problem started.
When should you roll back a driver?
If the screen-line problem started immediately after a graphics-driver update, rolling back the driver may help.
Do not randomly install drivers from unknown websites. Use Windows Update or the laptop/graphics manufacturer’s official support resources whenever possible.
Step 4: Check Screen Resolution
An incorrect display resolution can sometimes create display problems.
Go to:
Settings → System → Display
Check the resolution listed under Display resolution.
Use the recommended/native resolution where available.
For example, a display designed for 1920 × 1080 should normally be tested at its native resolution rather than an unusual custom setting.
After changing the resolution, check whether the lines remain.
Step 5: Check the Refresh Rate
A laptop display may support several refresh rates.
Go to:
Settings → System → Display → Advanced display
Check the available refresh-rate options.
If the problem began after changing the refresh rate, return to the previously working setting.
This is particularly useful when troubleshooting flickering or unstable display symptoms.
Step 6: Connect the Laptop to an External Monitor
This is one of the most useful diagnostic tests.
Connect your laptop to an external display using a suitable HDMI, DisplayPort, USB-C, or other supported connection.
Then compare both displays.
Situation A: Laptop screen has lines, external monitor is normal
This points more strongly toward the laptop’s internal display system.
Possible causes include:
- Laptop screen
- Internal display cable
- Display connector
- Panel electronics
Situation B: Both screens have lines
The problem may involve:
- Graphics driver
- GPU
- Motherboard
- Graphics hardware
- Operating-system/display configuration
However, this test alone cannot identify the exact failed component.
Microsoft also recommends testing with another display or cable to help isolate whether a display problem originates from the computer or the display connection.
Step 7: Check Whether Moving the Laptop Lid Changes the Lines
This test can provide another useful clue.
With the laptop powered on, carefully change the screen angle slightly.
Do not force the hinge or press the display.
Watch the lines.
If the lines change when the lid moves
The internal display cable may be damaged, loose, or stressed around the hinge.
This can happen because the display cable passes through the hinge area and experiences repeated movement.
If the lines never change
The problem may instead be related to the screen panel or another component.
This is only a diagnostic clue, not a definitive test.
Step 8: Check for Physical Screen Damage
Look carefully at the display.
Check for:
- Cracks
- Black spots
- Ink-like patches
- Spider-web patterns
- Jagged lines
- Discolouration
- Areas that remain completely black
- Damage after a drop
- Damage after pressure was placed on the closed laptop
If the laptop was dropped or something pressed against the screen, panel damage becomes more likely.
HP notes that damaged LCD panels can produce lines, patterns, black areas, and other visible abnormalities.
Step 9: Check the Internal Display Cable
A laptop screen receives its image signal through an internal display cable.
Depending on the laptop, you may see terms such as:
- eDP cable
- LVDS cable
- LCD cable
- Display cable
- Screen cable
A loose or damaged cable can cause:
- Vertical lines
- Horizontal lines
- Flickering
- Random colours
- Intermittent display
- Display loss when moving the lid
If you have experience disassembling laptops, the cable can be inspected and reseated according to the manufacturer’s service instructions.
If you are not comfortable opening the laptop, professional inspection is safer.
Can You Reseat the Laptop Screen Cable Yourself?
Technically, some laptops allow the display cable to be reseated.
However, laptop construction varies significantly.
Before opening the machine:
- Shut it down completely.
- Disconnect the charger.
- Follow the manufacturer’s service instructions.
- Use appropriate tools.
- Avoid touching exposed electronics unnecessarily.
- Avoid pulling cables by force.
- Avoid putting pressure on the LCD panel.
A mistake during disassembly can damage the cable, connector, panel, motherboard, or other components.
For a valuable or newer laptop, professional diagnosis may be preferable to experimenting with the display assembly.
Step 10: Replace the Display Cable if It Is Damaged
If testing shows that the display cable is damaged, replacing the cable may solve the problem without replacing the entire screen.
The replacement cable must match the laptop.
Do not select a cable based only on the laptop series name.
Check:
- Exact laptop model
- Screen configuration
- Connector type
- Pin count where applicable
- Cable part number
- Panel compatibility
- Camera/touch features where relevant
Using the wrong cable can cause display problems or prevent the screen from working correctly.
Step 11: Check the Laptop Screen Panel
If the cable and software tests do not solve the problem, the display panel itself may be defective.
A panel replacement may be required when:
- Lines remain permanently
- The screen has visible cracks
- The panel has black patches
- The display has severe colour distortion
- Lines appear during startup
- External display works normally but the internal panel remains defective
- A technician confirms panel failure
Do not purchase a replacement screen solely because you see lines.
First identify the correct panel specification.
How to Choose the Correct Replacement Laptop Screen
Laptop screens are not interchangeable just because they have the same physical size.
Before buying a replacement, verify:
| Specification | What to Check |
|---|---|
| Screen size | Example: 14″, 15.6″, 16″ |
| Resolution | Example: 1920 × 1080 |
| Panel type | IPS, TN, OLED, etc. |
| Connector | eDP, LVDS, etc. |
| Pin configuration | Match the original |
| Refresh rate | Match the laptop’s supported specification |
| Touch support | Required on touchscreen models |
| Mounting | Check brackets and mounting points |
| Part number | Compare the original panel label |
The panel part number is often one of the most useful pieces of information when identifying a compatible replacement.
Should You Repair the Screen or Replace It?
The answer depends on what failed.
| Problem | Possible Solution |
|---|---|
| Temporary graphics glitch | Restart/reset graphics driver |
| Driver problem | Update or roll back driver |
| Wrong resolution | Restore recommended resolution |
| Wrong refresh rate | Return to supported setting |
| Loose display cable | Reseat cable |
| Damaged display cable | Replace cable |
| Cracked LCD panel | Replace screen |
| Permanent coloured lines | Panel/hardware diagnosis |
| GPU-related problem | Graphics hardware diagnosis |
| Motherboard connector fault | Professional board-level repair |
This approach can save money because a faulty cable does not necessarily require a new screen.
Can Laptop Screen Lines Be Fixed Without Replacing the Screen?
Yes, in some cases.
A screen replacement is not always necessary.
Lines may disappear after:
- Restarting the laptop
- Resetting the graphics driver
- Updating or rolling back the driver
- Correcting the resolution
- Correcting the refresh rate
- Fixing a software conflict
- Reseating a loose display cable
- Replacing a damaged display cable
However, if the actual LCD/OLED panel is physically damaged, software changes cannot repair the damaged panel.
Can Pressing the Screen Remove the Lines?
No. Do not press, squeeze, massage, or bend the laptop screen to try to remove lines.
You may find videos showing people pressing around the edges of a display.
This is not a reliable repair method.
Applying pressure can make panel damage worse and may create additional display defects.
If touching or pressing a particular area temporarily changes the image, treat that as a diagnostic clue rather than a repair technique.
What If Lines Appear After Dropping the Laptop?
If lines appeared immediately after a drop, physical damage should be considered first.
The impact may have affected:
- LCD/OLED panel
- Display cable
- Cable connector
- Hinge
- Motherboard connector
- Graphics hardware
Look for cracks, black areas, colour patches, or changing lines.
If the external monitor works normally while the laptop panel has lines, the internal display assembly becomes an important area to inspect.
What If Lines Appear Only When the Laptop Is Hot?
Heat-related symptoms can be more difficult to diagnose.
If the lines appear after the laptop becomes warm and disappear after cooling, possible areas for investigation include:
- Graphics hardware
- Motherboard
- Display cable
- Display panel
- Driver/software behaviour
Do not assume that overheating is automatically the cause.
A technician should test the laptop under controlled conditions before replacing components.
What If the Lines Appear Only in One Application?
If the desktop and other applications look normal but lines appear only inside one application, the display panel may not be the problem.
Possible causes include:
- Application graphics settings
- Hardware acceleration
- Software bugs
- Graphics-driver compatibility
- Browser rendering issues
Try another application and check whether the problem follows the application or remains across the entire display.
Microsoft recommends using Task Manager and other checks to distinguish display-driver problems from application-related flickering.
A Simple Laptop Screen Line Diagnosis
Use this quick decision process:
Lines appear before Windows loads?
→ Suspect hardware.
Lines appear only after Windows starts?
→ Test drivers and display settings.
External monitor is normal?
→ Investigate internal screen, cable, or connector.
External monitor also has lines?
→ Investigate graphics hardware, drivers, or motherboard.
Lines change when the lid moves?
→ Investigate display cable or hinge-area connection.
Screen has cracks or black patches?
→ Panel damage is likely.
Driver update caused the problem?
→ Consider rolling back the driver.
This diagnosis-first approach is more useful than immediately ordering a replacement screen.
When Should You Contact a Laptop Repair Technician?
Professional help is recommended when:
- The screen has physical damage.
- Lines appear during startup.
- The external-monitor test points to internal hardware.
- The display cable needs replacement.
- The laptop needs to be opened.
- The panel needs replacement.
- The problem involves the motherboard or GPU.
- You are not comfortable working with delicate laptop components.
- The laptop is still under warranty.
A professional technician can test the laptop before replacing parts. This is important because screen lines can come from several different components.
Reboot IT can help diagnose laptop display problems and determine whether the issue is related to the screen, cable, graphics system, or another internal component.
What Should You Do Before Taking Your Laptop for Repair?
Before handing over your laptop:
Back up important files
If the laptop still works, back up important documents, photos, projects, and other data.
Record the problem
Take a photo or short video showing the lines.
This can help demonstrate whether the problem is intermittent.
Note when the problem started
Write down:
- When the lines first appeared
- Whether the laptop was dropped
- Whether a driver was recently updated
- Whether the lines appear during startup
- Whether they change when the lid moves
- Whether an external monitor works normally
These details can help a technician diagnose the fault faster.
Reboot IT can use these symptoms along with hardware testing to narrow down the source of the display problem.
How to Prevent Laptop Screen Problems
You cannot prevent every display failure, but good handling can reduce avoidable damage.
Open the laptop carefully
Use the centre of the display area when opening the lid rather than pulling from one corner.
Avoid pressure on the screen
Do not place heavy objects on a laptop inside a bag.
Keep the laptop protected
Use a suitable padded laptop bag during transportation.
Keep liquids away
Liquid entering the display or motherboard can create serious hardware problems.
Avoid excessive heat
Keep ventilation openings clear and use the laptop on a suitable surface.
Do not close the lid with objects on the keyboard
A charger, pen, earphones, or other object trapped between the keyboard and display can damage the panel.
Laptop Screen Lines: Repair or Replace?
The correct solution depends on the failed component.
If the problem is software-related, the repair may cost little or nothing.
If the display cable is faulty, replacing the cable may be enough.
If the panel is physically damaged, screen replacement may be required.
If the graphics hardware or motherboard is responsible, replacing the screen alone will not solve the problem.
That is why diagnosis should come before replacement.
Frequently Asked Questions
How to repair laptop screen lines at home?
Start with safe software checks. Restart the laptop, reset the graphics driver, check the display resolution and refresh rate, and test an external monitor. If lines remain during startup or physical damage is visible, professional hardware diagnosis may be necessary.
Why does my laptop screen have vertical lines?
Vertical lines can be caused by a damaged screen, loose or damaged display cable, graphics hardware, driver problems, or other internal display faults. The exact cause needs to be diagnosed rather than assumed.
Can a laptop screen line be fixed without replacing the screen?
Yes. If the cause is a driver problem, display setting, loose cable, or damaged cable, a screen replacement may not be necessary. A physically damaged panel normally requires replacement.
How do I know if my laptop screen or cable is faulty?
Connect the laptop to an external monitor. If the external display works normally while the laptop screen has lines, the internal screen, display cable, or connector becomes more likely. Further testing is needed to identify the exact component.
Why do laptop screen lines disappear when I move the lid?
Lines that change when the lid moves can indicate an intermittent connection or display cable problem around the hinge area. Avoid repeatedly flexing the lid and have the cable inspected.
Can updating the graphics driver fix screen lines?
It can fix some software-related display problems, but it cannot repair physical panel damage or a broken display cable. Microsoft recommends updating, rolling back, or reinstalling display drivers when appropriate.
Are coloured lines on a laptop screen serious?
Permanent coloured lines can indicate a hardware problem, particularly when they remain visible during startup. HP identifies permanent solid coloured lines as a possible indication of display hardware failure.
Should I replace my laptop screen if it has lines?
Not immediately. First determine whether the problem is caused by software, the display cable, graphics hardware, or the panel. Replacing the screen without diagnosis can result in unnecessary expense.
Can a factory reset fix laptop screen lines?
A factory reset may help with certain software problems, but it will not repair a cracked screen, damaged display cable, or failed display hardware. Try less disruptive troubleshooting steps first.
Can a broken laptop screen damage my files?
A damaged display does not automatically mean your data is damaged. If the laptop still starts normally, connect an external monitor if necessary and back up your important files before repair.
Is it safe to repair a laptop screen yourself?
Screen and cable replacement can involve delicate connectors and components. If you do not have experience opening laptops, professional repair is safer. Manufacturer guidance also warns that DIY screen replacement can cause further damage.
How long does laptop screen repair take?
The time depends on the cause. A software fix can take only a few minutes, while cable or screen replacement requires disassembly, testing, and reassembly. Motherboard-level faults can require additional diagnostic time.
What is the first thing to check when laptop screen lines appear?
Check whether the lines appear during the laptop’s startup screen. This helps separate many software-related problems from possible hardware faults. Then test the laptop with an external monitor.
Final Takeaway
When learning how to repair laptop screen lines, the most important step is not replacing the screen immediately. It is finding the actual cause.
Start with simple software checks, reset the graphics driver, verify the resolution and refresh rate, and test the laptop with an external monitor. Then investigate the internal display cable and panel if the problem continues.
If the lines appear during startup, change when the lid moves, or remain after driver troubleshooting, hardware diagnosis becomes increasingly important.
Reboot IT recommends diagnosing the fault before replacing expensive components. A correct diagnosis can help determine whether you need a driver fix, cable repair, screen replacement, or deeper hardware repair.
If you are unsure about opening the laptop, do not press or bend the screen. Back up your important data and have the display system professionally inspected.